


Selling your home represents one of the most significant financial transactions in a person’s life. Whether it’s your first time or you’re an experienced seller, understanding each step of the process is crucial to achieving a successful sale. With the right approach, you can maximize your home’s value, minimize the time it spends on the market, and avoid common pitfalls. This guide will walk you through every stage, from selecting a real estate agent to closing the deal, ensuring you’re well-prepared for a smooth and profitable experience.
Step 1: Choose the Right Real Estate Agent
The first and most important step in selling your home is selecting an experienced real estate agent. The right agent can significantly impact the ease and success of your sale. They bring expertise in pricing, marketing, and negotiations, all of which are essential for securing the best possible outcome. When choosing an agent, look for someone with deep knowledge of your local market, positive client reviews, and a proven track record of successful sales. It’s also crucial to understand the agent’s fees and contract terms before making a commitment. Typically, agents charge a commission based on the final sale price of your home, so ensure you’re comfortable with these terms. By choosing the right real estate agent, you set a solid foundation for a successful home-selling journey.

Step 2: Evaluate Your Home’s Market Value
After selecting your agent, the next step is to determine your home’s market value. Accurately pricing your home is essential to attracting buyers and ensuring a timely sale. Your agent will likely begin by researching local market trends, focusing on recent sales of homes similar to yours. Location, size, condition, and amenities all play a role in determining your home’s value. Additionally, your agent will provide a Comparative Market Analysis, a detailed report that compares your home to recently sold properties in the area. This analysis will help you set a realistic and competitive asking price. By starting with a well-informed pricing strategy, you increase your chances of selling your home quickly and for the best possible price.
Step 3: Prepare Your Home for Sale
Once you have a price in mind, it’s time to prepare your home for sale. First impressions matter, and a well presented home can significantly influence potential buyers’ perceptions. Start by decluttering your space and removing personal items. A clean, neutral environment allows buyers to envision themselves living in your home. You might also consider hiring a professional stager to showcase your home’s best features and create an inviting atmosphere. In addition to staging, it’s essential to address any visible repairs. Fixing leaky faucets, repainting chipped walls, and replacing outdated fixtures can all enhance your home’s appeal. Small updates, like new lighting or a fresh coat of paint, can also make a big difference. Don’t overlook curb appeal, as the exterior is the first thing buyers see. Ensure your lawn is well-maintained, add some plants or flowers, and make necessary repairs to the outside of the house. By taking these steps, you increase your home’s attractiveness and potential sale price.
Step 4: List Your Home
With your home ready to impress, the next step is to list it on the market. Creating an appealing and effective listing is crucial for attracting potential buyers. Your listing should include a compelling description that highlights your home’s unique features, such as its location, amenities, and recent updates. This is your opportunity to showcase what makes your home special, so don’t hesitate to emphasize its best qualities. High-quality images make a strong first impression online, where most buyers begin their search. Consider hiring a professional photographer to capture your home in the best light. Your agent will guide you in selecting the right listing platforms and may suggest additional marketing strategies, such as virtual tours, social media advertising, and open houses. By investing time and effort into your listing, you maximize your home’s visibility and appeal to potential buyers.
Step 5: Show Your Home to Potential Buyers
Once your home is listed, be prepared for showings and open houses. These opportunities allow potential buyers to experience your home firsthand, so it’s important to make a positive impression. Work with your agent to schedule showings at convenient times. During these visits, ensure your home is clean, tidy, and welcoming. Small touches, like fresh flowers or scented candles, can create a more inviting atmosphere. It’s also important to keep your home presentable at all times, especially if you’re living there while it’s on the market. This means maintaining a clean, uncluttered environment that’s always prepared for a last-minute showing. As you receive feedback from potential buyers, be open to making adjustments to your presentation or pricing strategy. Constructive feedback can provide valuable insights into how your home is perceived and what changes might make it more appealing. By staying flexible and responsive during this stage, you increase your chances of securing a buyer
Step 6: Review Offers and Negotiate
As offers start to come in, it’s time to review and negotiate to get the best deal. This is where your agent’s expertise really comes into play. If you receive multiple offers, your agent will help you compare them not just based on price, but also on terms like closing timelines, contingencies, and buyer qualifications. It’s important to evaluate each offer carefully to ensure it aligns with your goals. Once you’ve identified a strong offer, your agent will assist in negotiating counteroffers. The goal is to maximize your sale price while securing favorable terms that work for both you and the buyer. Understanding contingencies, such as inspections or financing, is also crucial during this stage. These conditions can impact the sale, so it’s important to be aware of them and how they might affect the transaction. By approaching negotiations with a clear strategy and a willingness to compromise, you can reach an agreement that satisfies both parties.
Step 7: Complete the Home Inspection and Appraisal
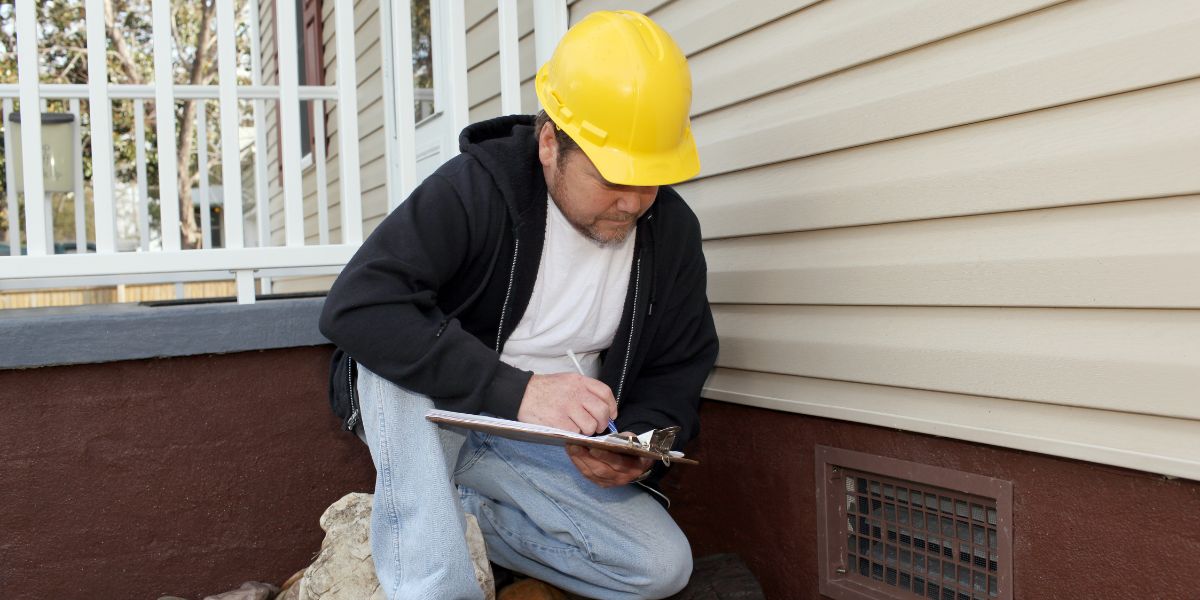
After accepting an offer, the buyer will typically request a home inspection and appraisal. These steps are essential for confirming the home’s condition and value. During the inspection, an inspector will evaluate your home’s structural integrity, plumbing, electrical systems, and other critical components. They’ll identify any issues that might need addressing before the sale can proceed. If the inspection reveals significant problems, you may need to make repairs or negotiate a credit for the buyer. The appraisal, on the other hand, determines your home’s market value, which the buyer’s lender will use to approve financing. The appraisal process involves an unbiased appraiser who assesses your home and compares it to similar properties that have recently sold. If the appraisal comes in lower than expected, you may need to renegotiate the sale price with the buyer. It’s important to handle these steps promptly and professionally to keep the sale on track.
Step 8: Close the Deal
Closing is the final step in the home-selling process, where ownership officially transfers from you to the buyer. This stage involves a series of important tasks, including signing documents, settling financial matters, and conducting a final walk-through. Before closing day, you’ll need to review and sign various legal documents, such as the deed, settlement statement, and mortgage payoff statement. It’s essential to ensure all paperwork is in order and ready for the closing date. You should also be prepared for seller closing costs, which typically include agent commissions, taxes, and other fees. These costs are usually deducted from the sale proceeds. On the day of closing, the buyer will conduct a final walk-through of the home to ensure it’s in the agreed-upon condition. Once everything is confirmed, you’ll sign the necessary documents, and ownership will officially transfer to the buyer. Congratulations, you’ve successfully sold your home!
Step 9: Post-Sale Responsibilities
After closing, there are still a few responsibilities to handle. The first priority is moving out by the agreed upon date, leaving the home clean and empty for the new owners. Make sure to cancel your utilities and arrange for your mail to be forwarded to your new address. It’s also a good idea to take a moment to reflect on the sale process and what you’ve learned from the experience. Whether you’re moving to a new home or planning future investments, use this knowledge to inform your next steps. Finally, don’t forget to celebrate your successful sale and the beginning of your next chapter.
Conclusion
Selling a home is a complex process, but by following these steps, you can navigate it with confidence and success. From choosing the right real estate agent to closing the deal, each phase is crucial to achieving your goals. Stay informed, work with professionals, and keep the big picture in mind to ensure a smooth and profitable home sale. With the right approach, you can turn what might seem like a daunting task into a rewarding experience. Happy selling!